What Is Inverse Kinematics? the New IK Unity3D System
Nov 5th 2019
Inverse Kinematics allows you to modify any animation in runtime so you can make a specific joint to follow a target ignoring partially or totally the animation being played. In Unity3D 2019 there is a new and easy way to implement them. Let’s implement this:
Forward Kinematics
When you play an animation in a mesh. The position of every joint is defined by the animation. This method is called forward kinematics. And forward kinematics sucks.
What is the problem with forward kinematics?
In forward kinematics, every joint moves the next one from the inside out. In humans, the spine moves the shoulder which moves the elbow which moves the wrist which moves the hand.
The problem with that makes evident when we want to make the hand to move to a specific position. To do that we need to define the hole animation from the spine to the hand. Even worse if the target position of the hand changes in runtime we are totally fucked.
Animations between characters like a simple handshake are a total pain to implement with forward kinematics.
When we don’t control the animation in runtime there is no chance the animated character can interact with any changing environment.
Just a little bump in the floor could make the character show wrong poses.
In animations, especially in humanoid, it is pretty useful to set the position of the hands or the foot in runtime.

(source)
Here is when Inverse Kinematics comes to the rescue.
Inverse Kinematics (IK)
IK allows you to define an animation in runtime from outside to inside. You can define for example to move the feet to the top of the small bump in the floor.

(source)
(source)
Awesome! How do I IK in Unity2019?
Install Animation Rigging preview package
First, you have to download and install the Animation Rigging preview package.
Go to Windows -> Package Manager
In Advanced, make sure the Show Preview Packages is enabled.
(It will take a while. Just be patient.)
Click Animation Rigging preview package and then install it at the bottom right corner of the Package window.
Setup your animated character as usual
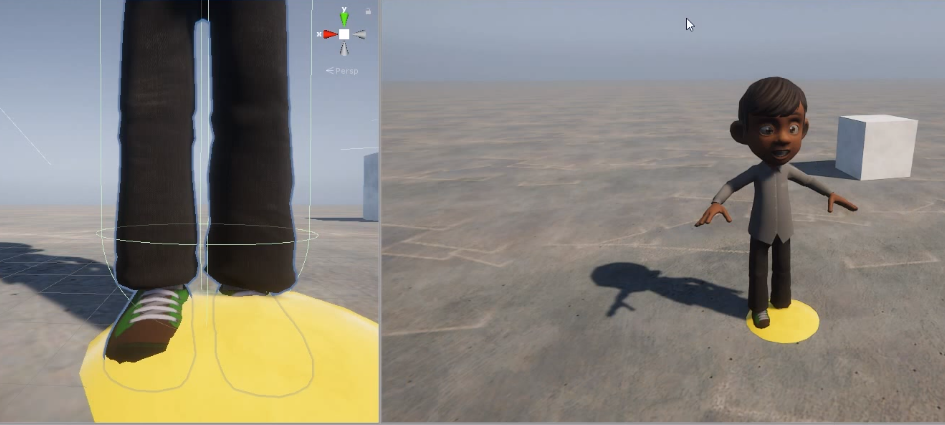
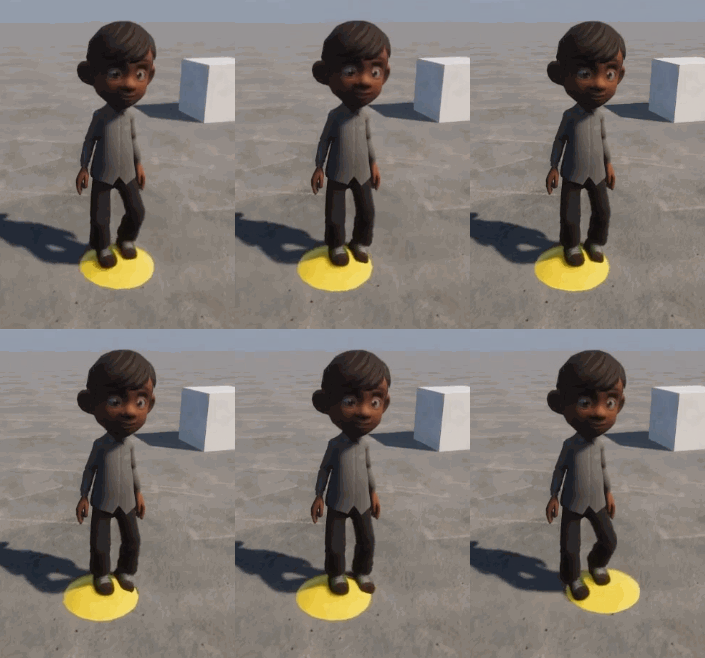
Setup your animated character as usual. In my case, I’ve made a Unity Project with a simple humanoid playing a looped walking animation.
(Optional) Visualize Bones
If you want you can visualize any bones by adding a component called BoneRenderer to the root of your character.
Setup your runtime rig
- Add
RigBuildercomponent to the root of your character - Create an empty object inside the root of your character
- Add
Rigcomponent to that object and name itRig - Add your
Rigcomponent to theRigBuilderyou added first
Setup your IK constraint
- In your
Rigobject add aTwoBoneIKConstraintcomponent - Assign the Root, Mid, and Tip
Transforms
Create a Target GameObject and assign it to the IK constraint
- Create a new GameObject inside your
RigGameObject and name itTarget - Set the target in the desired position
Play and enjoy!
Feel free to download or clone the project here
https://github.com/chulini/ik


